


How to Buy and Install Your Roamvy eSIM (Step-by-Step Guide)
Aug. 24, 2025
How-To Guides
One of the best things about Roamvy is how simple it is to get connected. You don’t need to hunt for SIM cards at the airport or deal with expensive roaming fees from your carrier. With Roamvy, you can buy, install, and activate an eSIM in just a few minutes — all from your phone.
Here’s a step-by-step guide to walk you through the process.
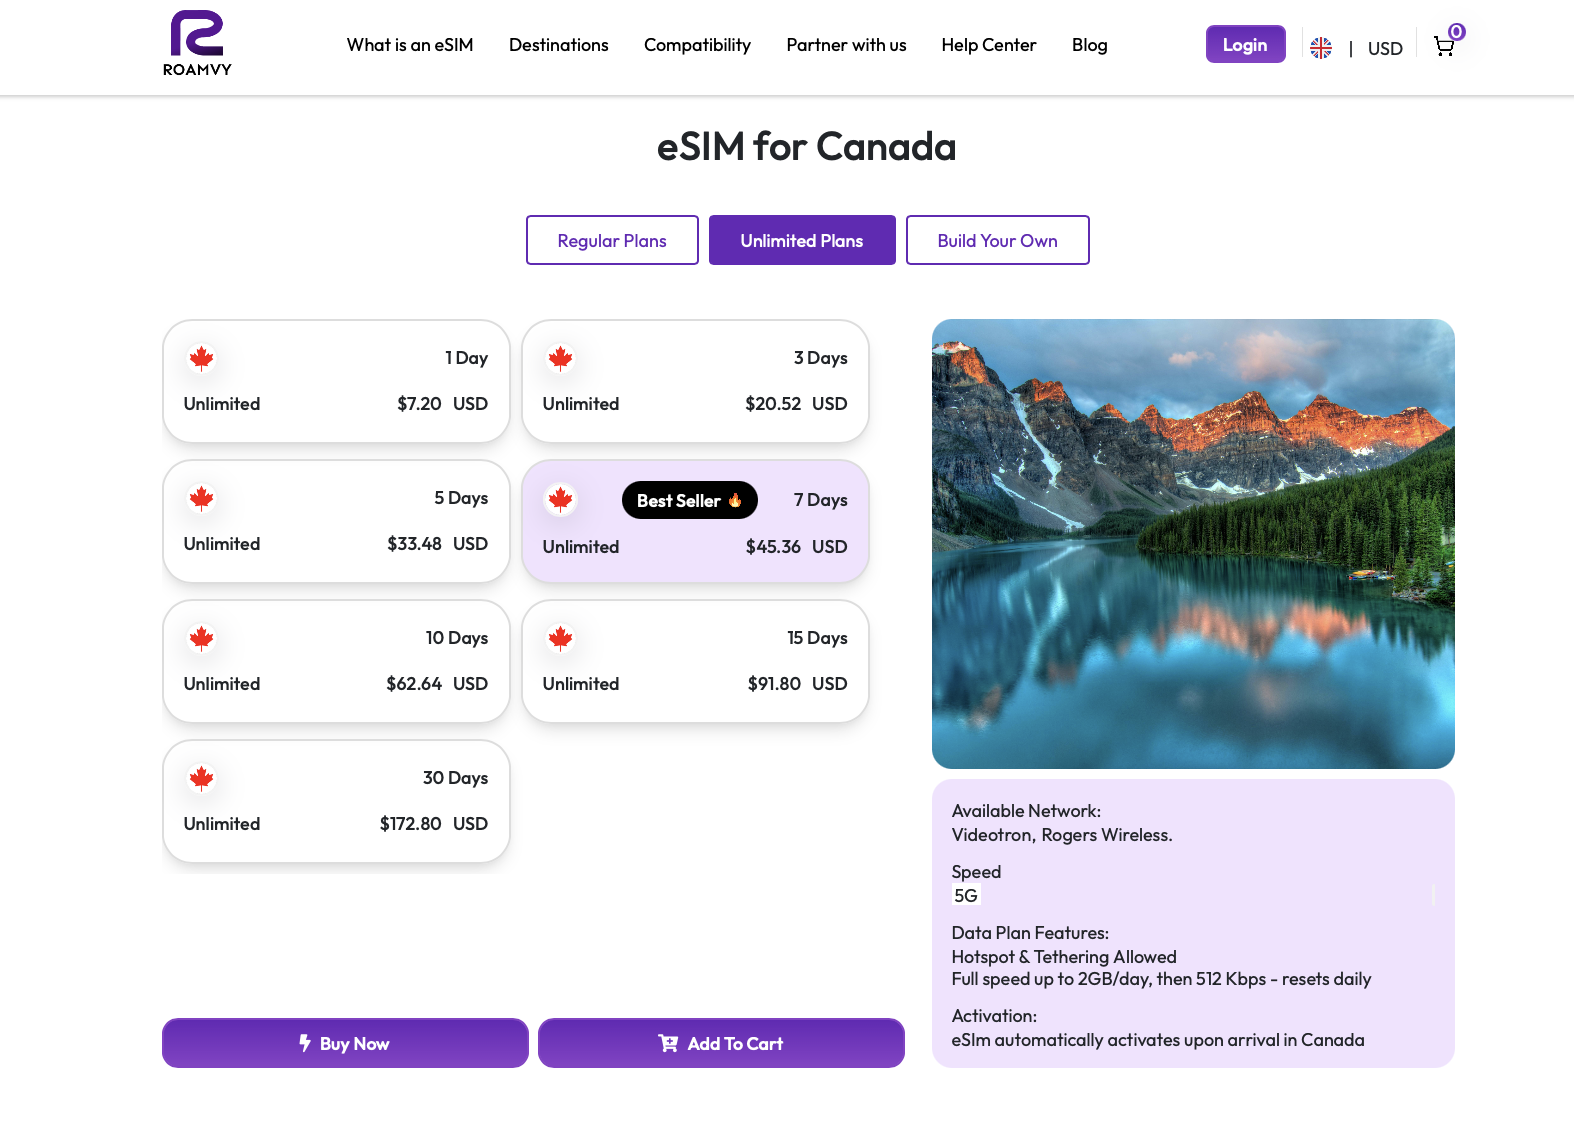
Step 1: Choose Your Plan
- Visit the Roamvy website or open the Roamvy app.
- Select your destination (single country, regional, or global).
- Pick the plan that fits your needs:
- Regular plans (light users)
- Unlimited plans (heavy users)
- Build-Your-Own plans (custom data amounts)
Roamvy covers 200+ destinations, so whether you’re traveling to Paris, Bali, or New York, we’ve got you covered.
Step 2: Complete Your Purchase
- Add the plan to your cart.
- Pay securely with credit card, Apple Pay, Google Pay, or other supported methods.
- After purchase, you’ll instantly receive your eSIM details and QR code by email — and it’ll also be available in the Roamvy app.
Step 3: Install Your eSIM
You can install your Roamvy eSIM in three different ways:
- Install Directly from the App
- Open the Roamvy app.
- Go to My eSIMs > View Plans.
- Tap Install eSIM and follow the on-screen instructions.
- Install by Scanning a QR Code
- Open your phone’s Settings.
- Go to Cellular / Mobile Data > Add eSIM (iPhone) or SIM Manager > Add eSIM (Android).
- Scan the QR code sent by Roamvy.
- Your eSIM profile will download and install automatically.
- Install Manually
- Open your phone’s Settings > Cellular / Mobile Data > Add eSIM.
- Choose Enter Details Manually.
- Copy and paste the SM-DP+ address and activation code provided in your Roamvy email/app.
- Your eSIM will install just like with the other methods.
Step 4: Activate Your Plan
-
Once installed, select your Roamvy eSIM as your mobile data line in settings.
-
Turn on Mobile Data and Data Roaming for that line.
-
Your device will connect to the local partner network automatically.
Pro Tip: Install your eSIM before traveling, it activates automaticaly when you arrive at your destination.
Step 5: Track Usage & Top Up
-
Open the Roamvy app anytime to check your remaining data.
-
A speedometer-style meter shows your usage at a glance.
-
You’ll also get automatic alerts at 50%, 80%, and 100% usage.
-
If you run out of data, simply tap Top Up under your plan to add more instantly.
Why Roamvy Makes It Simple
-
eSIMs in 200+ countries. Flexible plans. Instant setup.
-
Three easy installation methods: app, QR code, or manual entry.
-
24/7 support if you ever need help.
-
Transparent pricing with no roaming surprises.
FAQs
Do I need Wi-Fi to install my eSIM?
Yes, you’ll need an internet connection to download the profile. After that, your Roamvy eSIM provides mobile data.
Can I keep my regular SIM active while using Roamvy?
Yes. You can keep your home SIM for calls/texts and use Roamvy for data.
What happens if I delete my eSIM by mistake?
No problem — you can reinstall it from the Roamvy app or contact support for assistance.
Final Thoughts
With Roamvy, staying connected abroad is no longer a hassle. In just a few taps, you can buy, install, and activate your eSIM — all before your plane even takes off.
Wherever you roam, stay connected.
Get your Roamvy eSIM today and connect instantly when you land.
Buy Now →