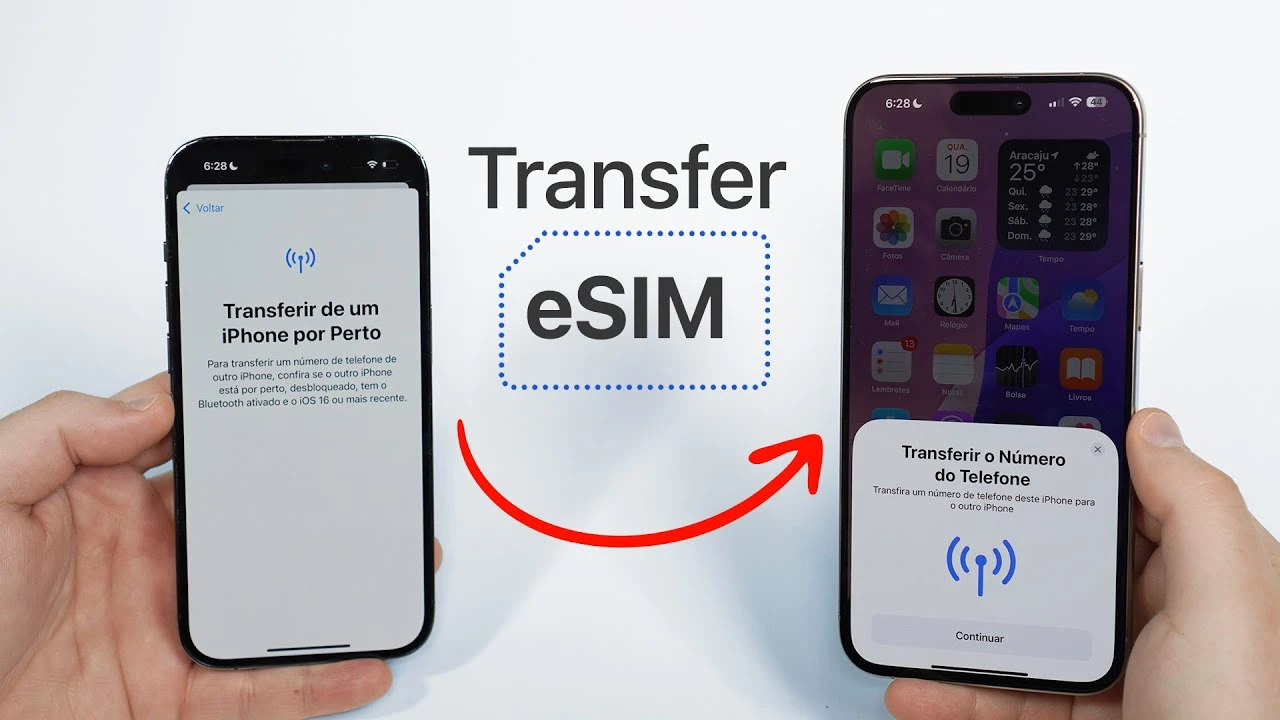
Upgrading to a new phone is always exciting — better camera, faster chip, longer battery life. But for many travelers and eSIM users, one big question comes up: “What happens to my eSIM when I switch devices?”
Unlike physical SIM cards that you can pop out, eSIMs are digitally embedded. That means transferring them requires a few simple steps — but once you know how, it’s just as easy (and far more secure). In this guide, you’ll also learn how to check eSIM compatibility properly before moving your profile.
This guide walks you through how to move your Roamvy eSIM safely when you upgrade your phone.
Before anything else, confirm that your new phone is eSIM-compatible and unlocked.
You can also visit Roamvy’s compatible devices list to double-check.
To prevent activation errors, always remove the old eSIM profile before reinstalling it on your new phone.
On iPhone
On Android
Necessary: Removing your eSIM does not cancel your plan. It simply deactivates it on that device.
You can reinstall your Roamvy eSIM using either of the following methods:
1. Direct from the Roamvy App (Recommended)
2. Scan QR Code
3. Manual Entry
After installation, it’s time to activate eSIM on your new device.
After setup, open your browser or maps app to confirm your data connection. If it doesn’t connect immediately:
If issues persist, visit Roamvy Support for troubleshooting help.
1. Can I move the same eSIM plan to a new phone?
Yes, as long as the plan is still valid. You can delete it from the old phone and reinstall it on your new one.
2. Can I use the same QR code again?
Yes. Your Roamvy QR code can be reused for reinstallation if the plan hasn’t expired.
3. What if I lost my QR code?
Open the Roamvy app → My eSIMs → Select Plan → eSIM Installation Guide to view or regenerate your QR code and activation details.
4. Do I need to contact Roamvy support to transfer my eSIM?
No. You can self-transfer anytime through your Roamvy account.
5. Will I lose any unused data during transfer?
No. Your data balance and validity remain the same after reinstalling the eSIM.
Upgrading your phone doesn’t mean losing your connection. With Roamvy, transferring your eSIM is simple — just remove it from your old device, scan the QR code on your new one, activate eSIM, and stay connected instantly.
No plastic cards. No retail visits. Just seamless connectivity across every upgrade.
Manage or reinstall your eSIM on Roamvy.com in minutes—and keep your travel data with you.